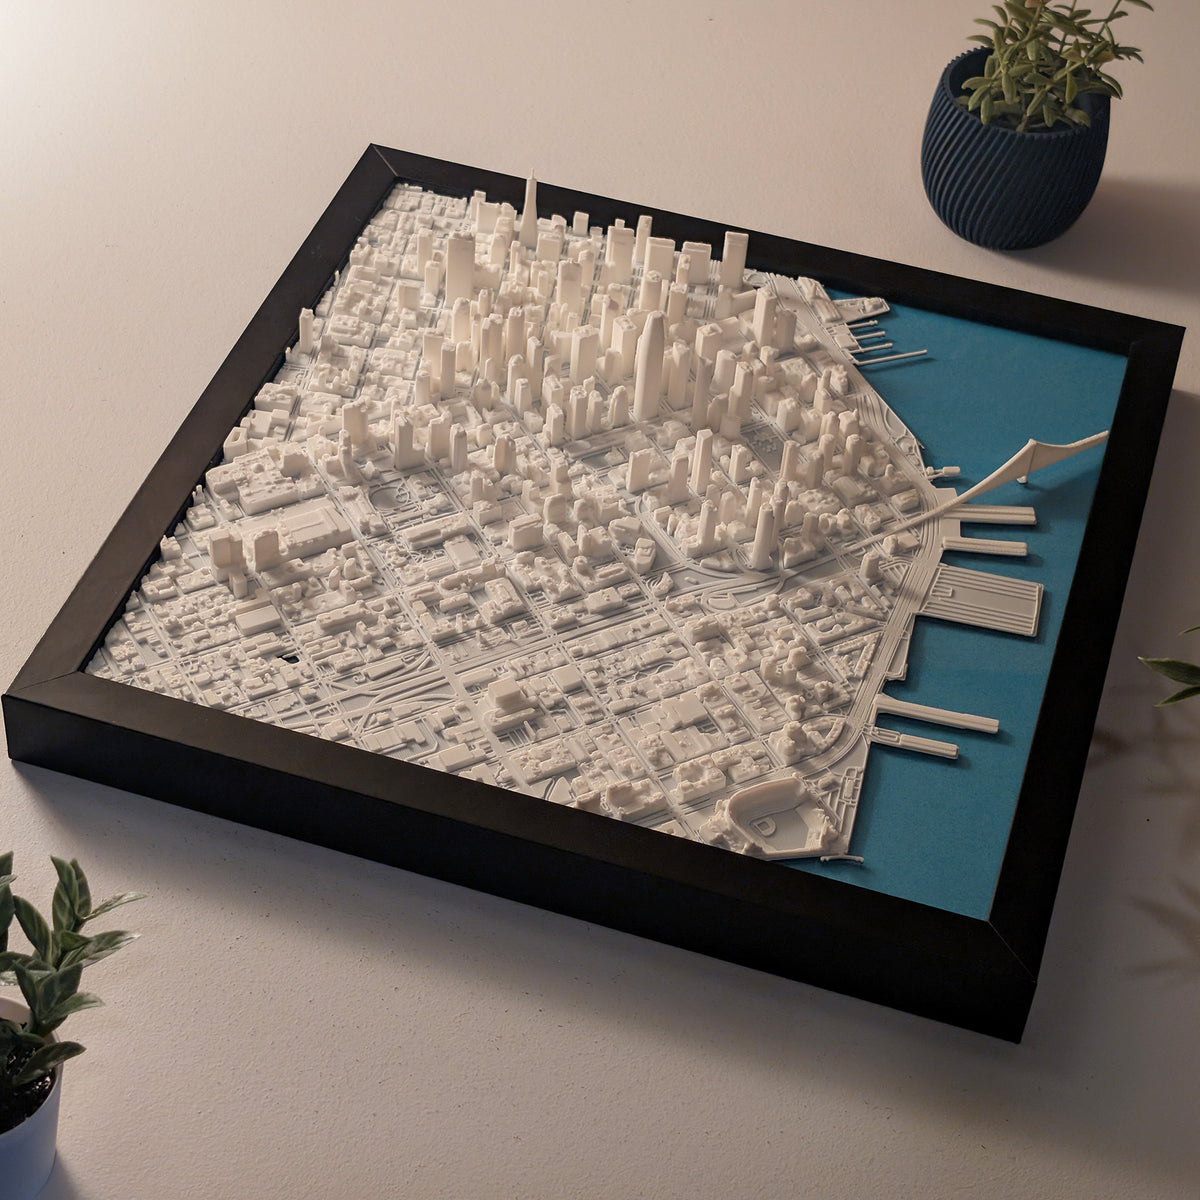
Hey everyone — Jeremy here! Since this is the very first blog post for MetroMap3D, I thought it’d be fun to give you a behind-the-scenes look at how I make my 3D printed city maps.
Every map in my shop is designed, printed, and framed right here in my workspace. The stars of the show are my two Voron 2.4 3D printers, which I use to bring each map to life with incredible detail.

These printers are custom-built and fully enclosed, which makes them perfect for printing in ABS filament. ABS is strong, durable, and resistant to heat — so the finished maps aren’t just beautiful, they’re also built to last.
I'm always working on improving the printers. I've recently switched out the toolhead on the orange printer, which will help me do multi color prints. Here’s that toolhead — the “business end” of the printer where the filament is melted and carefully placed layer by layer to create the streets, blocks, and skylines you see in the finished maps:

Of course, the printers don’t work alone. I spend countless hours calibrating, maintaining, and fine-tuning them to make sure every map comes out clean and sharp. Once a print is finished, I frame it so it’s ready to hang right out of the box.
And if you’re curious what this process looks like in action, here’s a quick video of the orange Voron 2.4 printing a Seattle city map. This map is the Seattle 3D Map - Essentials Edition
Thanks for stopping by my very first blog post, and I hope you enjoyed meeting the printers behind the maps!
– Jeremy

0 comments